For those of you looking for a video on how to decant a yeast starter, I’ve made another detailed (remember I’m obsessed) video on how to go about it. This video shows how to decant using an Erlenmeyer flask.
Steps to Decant a Yeast Starter
- The starter should be left in the fridge for at least 24 hours. If you can leave it for 3 days, that would allow more yeast to flocculate to the bottom of your flask.
- Gently remove the flask from the fridge without disturbing the yeast cake on the bottom.
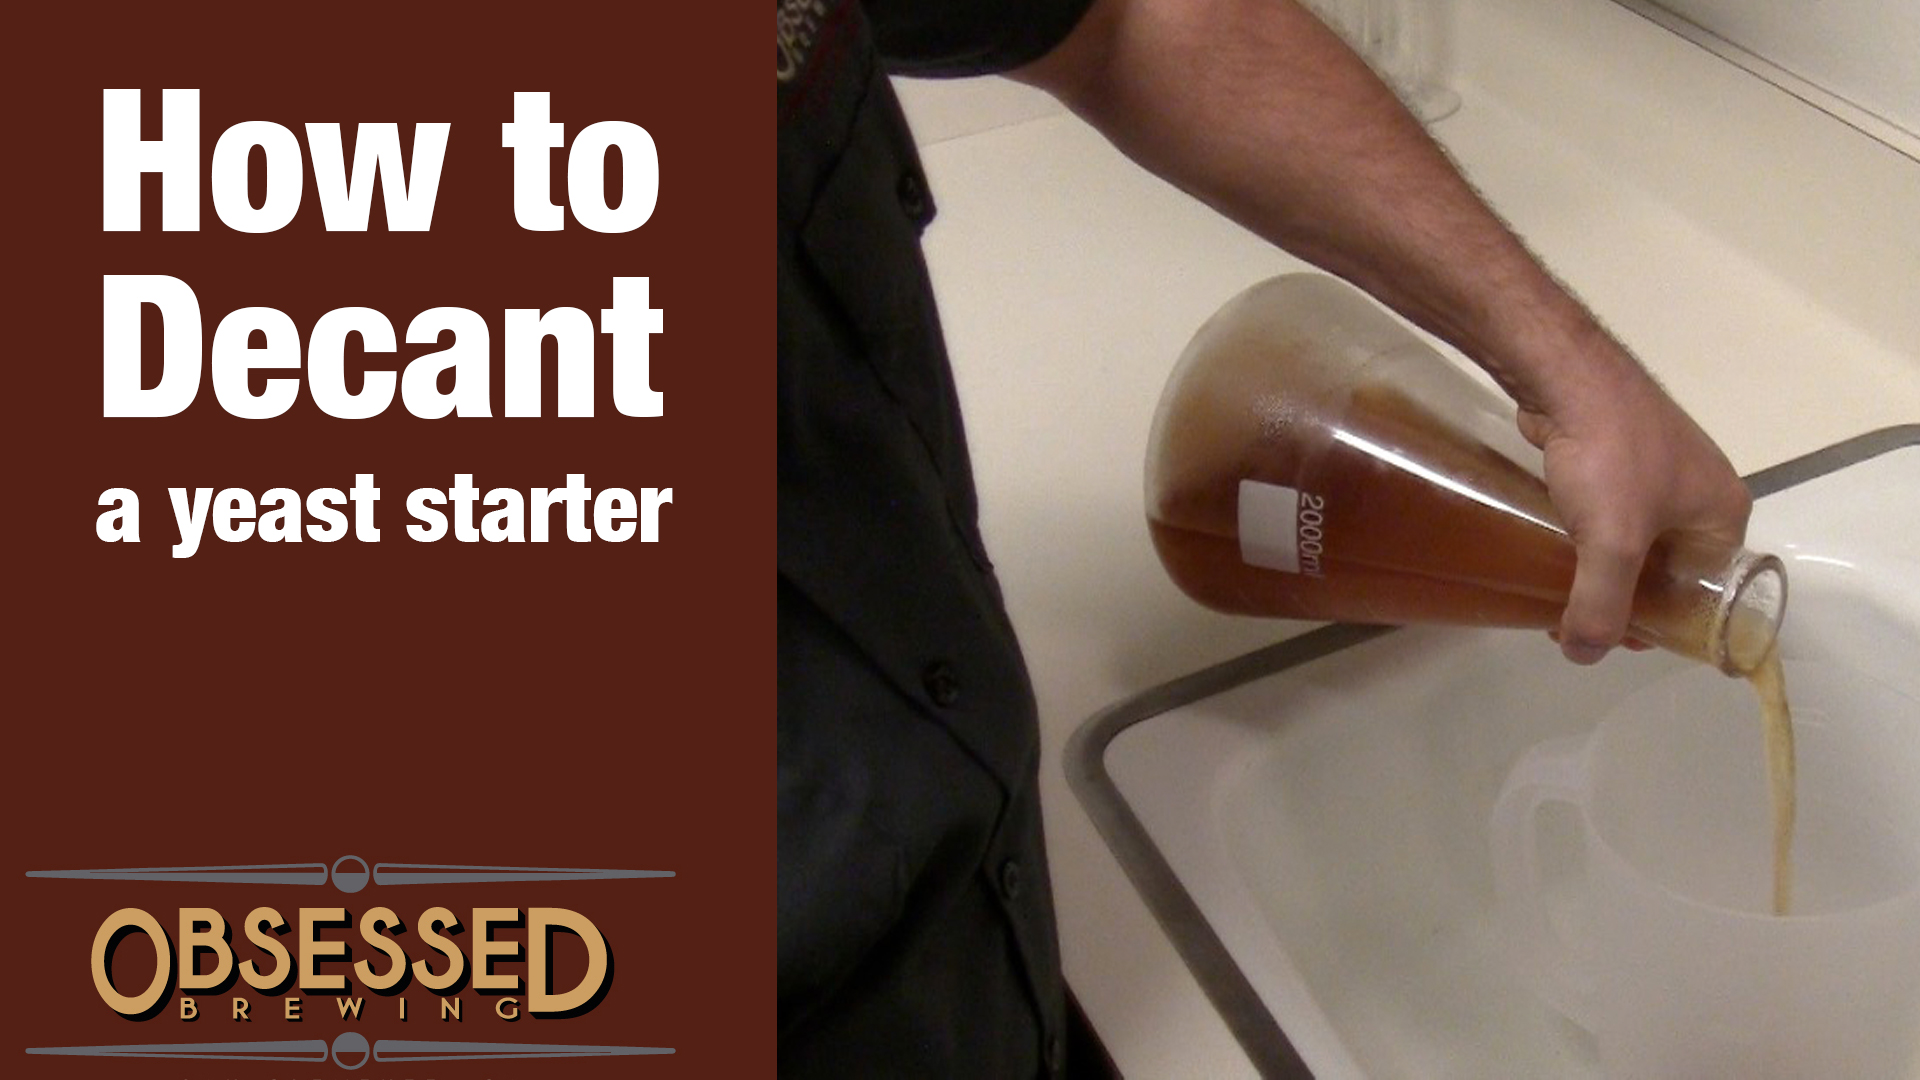
- (Optional) Set a container in the sink to catch the beer you’re about to pour off so that you can taste it later. It’s not going to taste good, but I think it’s important to taste your beer to make sure you don’t taste any infections.
- This is the point of no return! Begin slowly tilting the flask toward the side without making waves in the beer. Once you start pouring the beer out, don’t stop until it’s gone. If you pause and bring it back to upright, it will mix in the yeast cake again and you will end up defeating the purpose of crashing the starter in the fridge.
- As the beer is pouring out of your flask, keep your eye on the yeast cake as it starts to slide up toward the mouth of the flask. When it reaches the mouth, stop pouring so you don’t lose any yeast.
- That’s it! Cover it with sanitized foil or plastic until you pitch it.
After Decanting Your Yeast Starter
Once you have your nasty beer off of your yeast cake and have covered the flask for later, you can now taste a little bit of the beer you poured into the container. You’re looking for any off flavors that might indicate the yeast is unhealthy or that it has been infected with wild yeast or bacteria.